We zaten heerlijk op het terras van café Entrepot van OPEK deze zondag. De opkomst was groot en de resultaten fantastisch. Lampenkappen maken gaat niet makkelijk alleen, gelukkig hadden we een fantastische groep die super met elkaar klikte. Volgens mij zijn we allemaal met nieuwe vrienden naar huis gegaan.
Afgelopen zondag hebben we een hele leuke workshop gehad waarbij wel hangende tuinen hebben gemaakt. Het was lenteweer waarbij je precies buiten kan zitten, perfect voor wat wij gingen doen. De groep die meedeed was briljant, iedereen is er in geslaagd hun eigen unieke stukken mee naar huis te nemen. Hier zijn de foto’s van de dag. 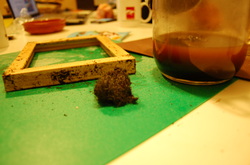 Wood looks best when it's old and stained, we wish everything had this look. Fortunately, you can make your non-vintage-looking wooden things look this way using kitchen appliances only. The process isn’t easy, so there is enough reason to come to our workshop this Sunday. That said I will give an explication on how to do it!
What do you need? - Used coffee grounds - Steel wool - Vinegar - Glass container with a lid - Sandpaper - Something you want to give the vintage wooden look! 1. A day before you start, put 1 part used coffee grounds and 1 part vinegar into a glass container. Also put a bit of steel wool in it, you will use the steel wool to put the coffee and vinegar mixture on to the wood. The steel wool needs to soak in the mixture overnight, with the glass container sealed off with its lid! 2. Start by sandpapering the thing you want to give the vintage wooden look. On Sunday we will use wooden photo frames, but it could be anything made from wood, going from a toothpick to a closet. Sandpaper it gooooood – the wood needs to be able to soak in the mixture you’ve made when you put it on there. 3. Take the steel wool out of the glass container and start rubbing the mixture of coffee grounds and vinegar on to it. It will look like you are just making the wood wet, but not like you are changing the color of the wood at all. Be patient, all will be okay. If you are really worried, take some coffee grounds from the bottom of your glass container and rub that onto the wood. 4. Wait until its dry. We know this is difficult, but we are in this together. 5. When the wood is dry, put on a second layer. It will still look lighter than it will be when its completely dry, but you just have to believe in the outcome. 6. SUCCES! You have successfully stained your wood! If you’ve tried this and failed, please let us know! We will talk you through it and see where it went wrong. If you keep to the steps, you should be fine! 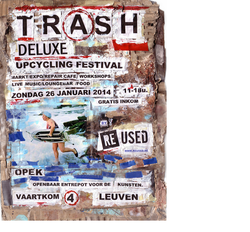 Hoi Allemaal!
Afgelopen zondag hebben we onze eerste workshop in 2014 gehad en wederom was het weer geslaagd! In een van onze vorige posts hebben we het al gehad over andere persoene die ook werkzaam in de DIY sector. Deze keer willen we jullie aandacht vestigen op het Trash Deluxe Upcycling Festival op 26 januari in OPEK. Tijdens dit festival kun je deelnemen aan workshops, rondneuzen op de markt, verschillende kunstenaars op de expo bewonderen of je oude spullen een tweede leven geven bij het Repair Café. Voor meer informatir, check de website! http://www.reused.be/trash-deluxe.html Maar voor nu een fijn weekend en hopelijk zien we jullie allemaal op de volgende workshop zondag 19 januari. So obviously we really like crafting and recycling - whats then more obvious than getting some new nice books for Christmas? I got two new books about knitting and one about "upcycling" - how to reuse old material to create new things. We used this term already with our necklace workshop, when we used old corks for new jewelery. Anyways I'm looking forward to get a lot of new inspiration for our upcoming workshops in 2014 and I hope to see you there! Our next workshop will be on the 5th January and we'll do lamps...be there or be square ;-) 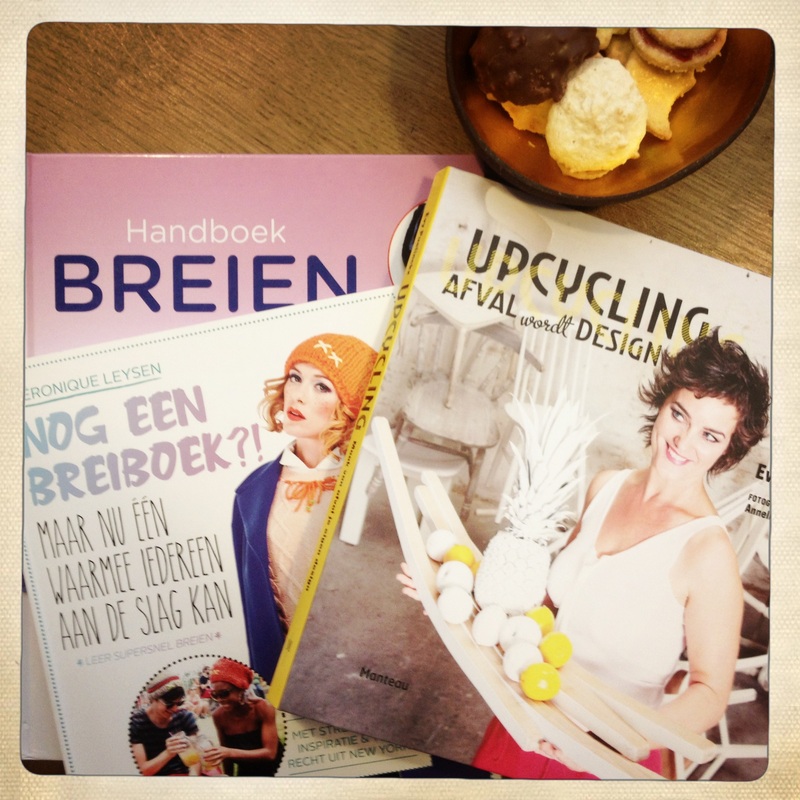
|


